

Make an appointment Call now

Various balcony lead connections

Water damage and leaks from defective lead strips can lead to costly repairs if not addressed promptly. Discover how professional inspection and timely maintenance of these crucial components can safeguard your property, prevent moisture intrusion, and extend the lifespan of your building's structure.
  • If there are any defects in the bed joint above the lead strip, we recommend repairing the bed joint. Where necessary, deepen the joint sufficiently, remove debris and loose material, and repair the joint in accordance with the existing work.
  • If there are any defects in the lead flashing on your balcony/roof terrace, repairs are often possible. This can be done by patching cracks in the flashing with self-adhesive bitumen tape, available at any hardware store. As long as repairs are possible, we recommend postponing replacement. Replacing lead flashing isn't easy!
  • It's also possible that the lead strip on the balcony/roof terrace (lead visible from the brickwork or mounted under the window frames) will come loose from the joint. Because replacement is not easy, professional repair is recommended. If repair is no longer possible, the lead strips will eventually need to be replaced.
    • In masonry, the best solution for replacing the lead is to remove strips of brick so that the lead can be installed in the cavity wall against the inner leaf. Another solution would be to grind the lead into a joint at least 4 cm deep . If installing under a window frame, a professional is recommended.
Homekeur-balkon-loodaansluiting-te-hoog.png

Lead strips, possible defects

A worthwhile article/blog about lead strips , defects, consequences, and leaks resulting from defective lead strips. These issues are, of course, inspected during a building inspection .

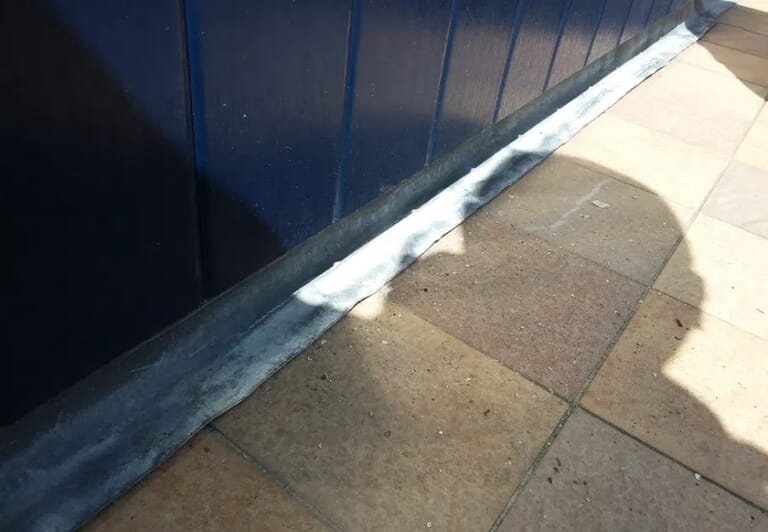
  • There's always a connection between the balcony/roof terrace floor and the house's facade. This connection is usually made waterproof with a lead strip (foot lead). This lead runs through the cavity wall of the facade and is attached to the inner leaf . Rainwater absorbed by the facade and seeping down is thus forced out. If this foot lead is not present, it must be installed.
    • For masonry, the best solution is to remove strips of brick so that the lead can be installed in the cavity against the inner leaf. Another solution would be to grind the lead at least 4 cm deep into a joint. If installing under a window frame, a professional is recommended.
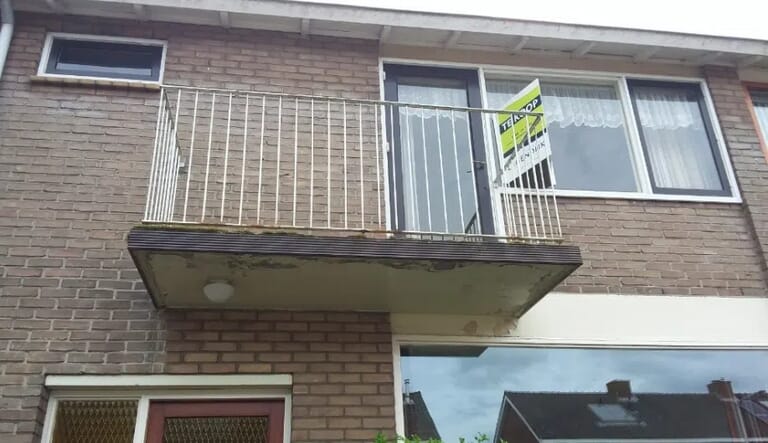
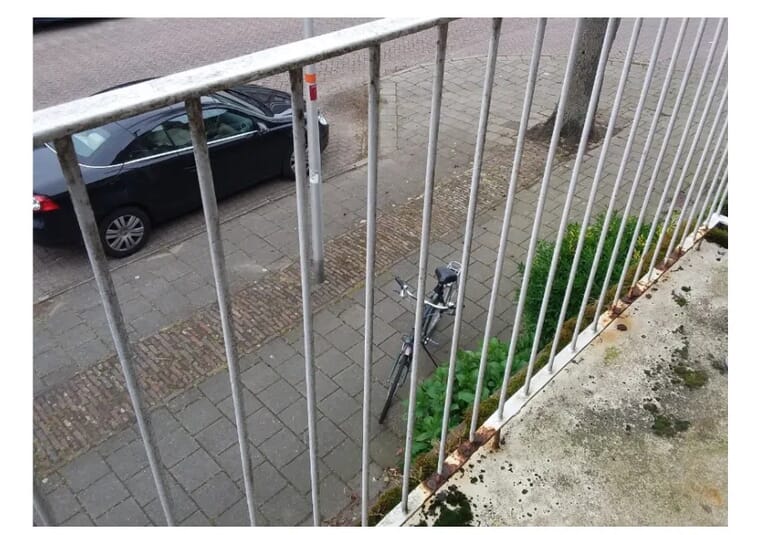
  • The lead on a balcony/roof terrace (lead visible from the brickwork or mounted under the window frames) is often too high and then hangs (or rests) too much on the floor of the balcony/roof terrace. Due to water creep and capillary action, there is then an increased risk of water ingress and/or leakage in the cavity or at this connection. Correcting this is easily achieved by shortening the lead height.
    • Lead can easily be cut and 'torn off' with a utility knife.
    • Always place a piece of board under the lead to be cut!
  • The same lead strips on the balcony/roof terrace (lead visible from the brickwork or mounted under the window frames) can also be too long. The strips may have a maximum length of 1 meter and must overlap by at least 8 cm . Materials are subject to weathering. If they are too long, there is insufficient space to accommodate the shrinkage or expansion. This causes the material to crack more quickly, leading to defects. Once the lead strip has been installed in this way, there's little you can do other than accept it. This does shorten the material's lifespan, and the lead strip will need to be replaced sooner than usual.
Homekeur-balkon-als-en-mos-poreus-beton.png
Homekeur-balkon-beton-poreus.png

Would you like to make an appointment for a building inspection?

The cost of a building inspection (up to 250 m²) is only €489 including VAT. We'll conduct a comprehensive building inspection and you'll receive a building report. Do you have any questions? We're happy to help and can schedule an appointment with an expert inspector right away if you wish!

Recent articles

Een stel met een man die kijken naar een tablet
blog
30 September 2026
Why a structural inspection at Homekeur costs €549 starting October 1st
As of October 1, 2026, the price of a building inspection at Homekeur will be €549, including VAT. This is a deliberate choice, as we do not want to compete on the lowest price, but on quality. A good building inspection requires time, expertise, and attention. That is why we continue to invest in our inspectors, quality controls, and even better reports. In this article, we explain why we are choosing this course.
homekeur_funderingsrisico_onderzoek_
blog
03 September 2026
NTA 8060: the basis for a professional building inspection
What is NTA 8060 and why is this technical standard important for a structural inspection? NTA 8060 describes a uniform methodology for assessing the structural condition of homes. Homekeur uses this methodology as an important basis for its structural inspections and is also actively involved in the revision of NTA 8060. In this article, we explain what NTA 8060 entails, what you as a home buyer will notice, and why the methodology is currently being updated.
Een vrouw achter een laptop
blog
02 September 2026
Energy labels cause price differences in home values ​​in 2026
In 2026, the energy label will have an increasing influence on the value of a home. Energy-efficient homes are more attractive to buyers, have lower monthly costs, and can be more favorable for the maximum mortgage amount. As a result, the price difference between homes with a good and a poor energy label can be significant. How significant is the influence of the energy label on home value, and which improvements can increase the value of your home?